
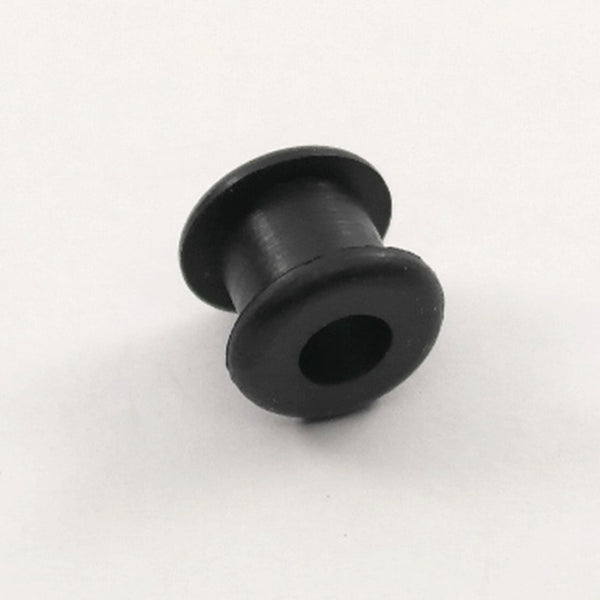


A trailer with missing, crooked, or undersized mud flaps usually tells on itself fast. You see road spray all over the deck, more rock chips behind the tires, and in some cases a flap that starts folding under at speed and tears itself apart. If you need to mount mud flaps on trailers the right way, the job is not complicated, but fitment matters more than most people expect.
The good news is that this is one of those jobs where a little measuring saves a lot of rework. The flap needs to be wide enough to cover the tire path, long enough to control spray without dragging, and mounted with hardware that can handle vibration, weather, and road grime. If any one of those is off, the flap may still bolt on, but it will not perform well for long.
What matters before you mount mud flaps on trailers
Most installation problems start before the first hole is drilled. People buy by eyeballing the tire, then try to make a flap fit whatever bracket is already there. Sometimes that works. Often it leads to poor coverage or a flap that sits too low and gets chewed up backing over curbs, gravel, or uneven ground.
Start with tire width and the available mounting area behind the wheel. A flap should generally cover at least the full width of the tire and often a bit more. On a wider trailer tire setup, a narrow flap can leave the outer edge exposed, which defeats the point. On the other hand, going too wide can make the flap interfere with the trailer frame, supports, or suspension travel.
Length is just as important. Too short and it will not block much spray or debris. Too long and it may drag, especially on ramps or uneven lots. For many trailer setups, you want the bottom of the flap to hang low enough to do its job but still leave practical ground clearance. Exact spacing depends on trailer height, tire size, load condition, and where the trailer is used. A utility trailer that sees off-road surfaces may need more clearance than a highway-only cargo trailer.
Thickness matters too. A thin flap may be fine for lighter-duty use, but heavier trailers and higher speeds usually call for a sturdier rubber flap that resists curling and tearing. If the flap flexes too easily, it can kick backward at speed or flap around enough to stress the mounting holes.
The hardware makes a bigger difference than people think
A mud flap is simple. The mounting setup is where most failures happen.
If your trailer already has a mud flap bracket or mounting bar, inspect it closely before reusing it. Bent metal, rusted edges, or elongated holes can cause the flap to hang unevenly or tear at the bolt points. If there is no existing bracket, you will need a solid mounting point on the frame, fender support, or crossmember area that can support the flap without flexing.
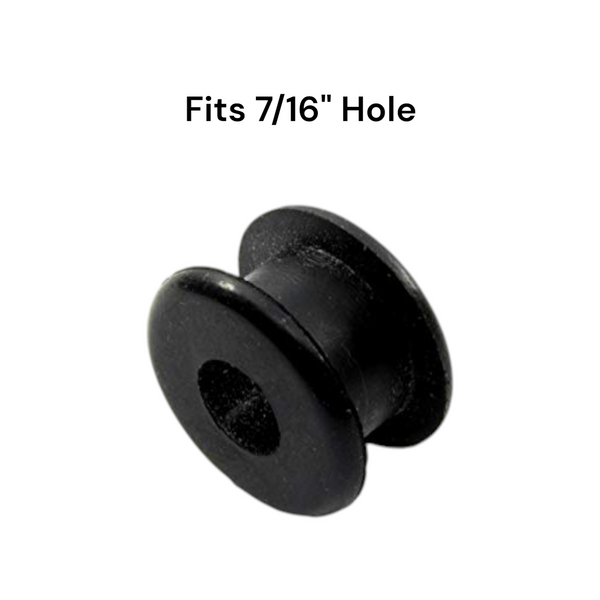
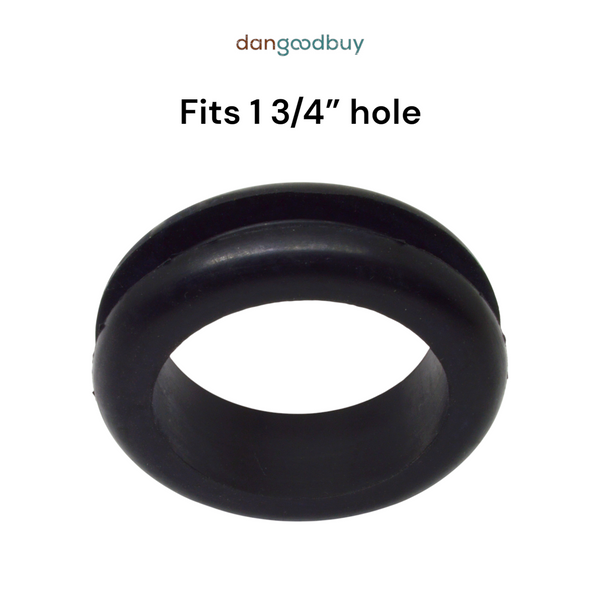
For hardware, corrosion resistance is worth paying for. Stainless hardware is a common choice because trailers live in water, road salt, mud, and sun. Large flat washers help spread the load so the rubber does not pull through around the bolt holes. If the flap is heavy or the trailer sees rough service, a backing strip or mounting bar across the top edge can give the rubber much better support than bolts alone.
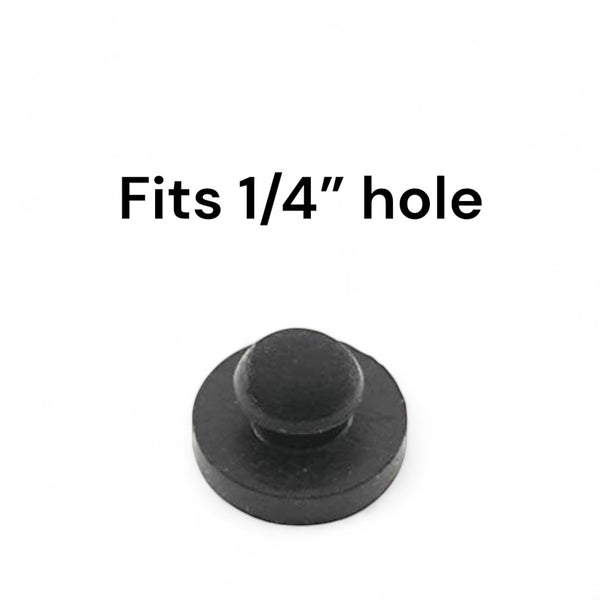
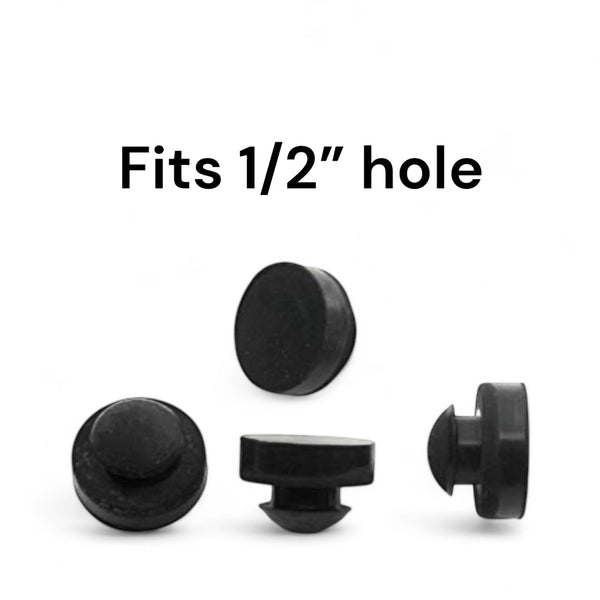
This is also where exact sizing helps. If the flap has pre-punched holes, they need to line up with the bracket or bar. If not, you will be drilling or punching your own holes, and spacing them correctly matters. Too close to the top edge and the rubber can tear. Too far down and the flap may sag or fold over above the hardware.
Measuring for fitment
Before mounting anything, park the trailer on level ground and load it the way it is normally used, if possible. Suspension height changes under load, and that affects how much clearance you really have.
Measure the width of the tire or tire pair that needs coverage. Then measure the available width at the mounting point. That tells you the practical maximum flap width. Next, measure from the mounting point down to the ground to estimate flap length. Keep in mind that the trailer will move through dips, driveways, and jobsite terrain, so leave room for real-world use, not just static clearance in the driveway.
If you are replacing an existing flap, do not assume the old one was correct. Plenty of trailers run around with whatever happened to fit the bracket. Check the actual tire coverage and ground clearance instead of copying a bad setup.
How to mount mud flaps on trailers step by step
Once you have the correct flap size and the right hardware, installation is straightforward.
Hold the flap in position behind the tire and center it so it covers the tire path. If the trailer uses tandem axles or has tight spacing around fenders and supports, check side clearance before marking holes. You want the flap to hang straight without rubbing metal edges or contacting the tire under movement.
Mark the hole locations carefully. If you are using a mounting bar, keep the top edge of the flap straight and level. Uneven hole spacing can twist the flap, which makes it look sloppy and can affect how it tracks in the airflow.
Drill or punch the holes to match your hardware. Clean holes matter. Ragged cuts in rubber can become tear points later. If you are drilling, support the flap well so the bit does not grab and distort the material.
Attach the flap loosely first, using washers on both sides if needed for added support. Once all hardware is in place, check alignment again before tightening everything down. The flap should hang flat, sit centered behind the tire, and clear the ground by a practical margin.
Do not overtighten the hardware. Crushing rubber too hard around the bolt holes can weaken it over time. Tight enough to secure the flap without slop is the goal.
After installation, roll the trailer a short distance or bounce the suspension if possible and recheck clearance. What looks fine standing still can shift once the trailer settles.
Common mistakes that cause early failure
The most common mistake is choosing flap dimensions based only on what is in stock locally, not what actually fits the trailer. That usually leads to too little coverage, too little clearance, or both.
Another frequent issue is weak support across the top edge. A heavy rubber flap mounted with just a couple of bolts and no backing support can tear around the holes, especially on rough roads. Large washers help, but on some setups a full strip across the top is the better long-term answer.
Crooked mounting is more than cosmetic. If one side hangs lower, that corner becomes the first point of contact on slopes and driveways. The flap wears unevenly and may rip sooner than it should.
Then there is the clearance problem. Some owners mount the flap as low as possible because they want maximum spray control. That can work on pavement, but if the trailer backs into uneven lots, ramps, or gravel drives, the flap may fold under and tear. Better control is good. Constant ground contact is not.
Choosing the right flap for the trailer's real use
A light utility trailer, enclosed cargo trailer, equipment trailer, and semi-style application do not all want the same flap. The best choice depends on speed, terrain, trailer height, and how much abuse the flap is going to take.
For highway use, durability and consistent coverage matter most. For mixed pavement and rough surfaces, extra clearance and a tougher flap may matter more. If appearance is part of the job, such as for a business trailer, a clean fit and straight mounting line make a noticeable difference.
This is where measurement-based shopping saves time. Instead of trying to guess from pictures, it helps to buy by actual width, length, and mounting needs. That is especially useful when you only need one pair, not a bulk commercial order, though suppliers like dangoodbuy also make it easier to scale up if you are outfitting multiple trailers.
Check the install after the first few trips
Mud flap hardware settles. Rubber compresses slightly. Brackets reveal their weak spots once the trailer hits real roads.
After a few trips, inspect the bolts, washers, and top edge of the flap. Look for tearing around holes, shifting alignment, or signs that the flap is contacting the ground or tire. Catching small problems early is the difference between a quick adjustment and replacing a torn flap.
If the flap starts to curl backward badly at speed, the material may be too light for the application or the mounting support may be too weak. If it shows heavy wear at one bottom corner, recheck whether it is hanging level. If the top edge is tearing, add better load distribution with larger washers or a proper support strip.
A good mud flap install does not need to be fancy. It just needs to match the trailer, the tire coverage, and the conditions the trailer actually sees. Measure first, mount it straight, give the rubber enough support, and leave sensible ground clearance. That gets you a flap that lasts longer and does the job you bought it to do.