


If you've ever tried to match a grommet by eyeballing it, you already know how that usually ends - a loose fit, a torn edge, or a wire rubbing against bare metal. A rubber grommet hole size chart takes the guesswork out of the job by helping you match the hole diameter, panel thickness, and inside opening to the part you actually need.
That matters whether you're protecting wiring in an electrical box, finishing a sheet metal pass-through on a vehicle, or replacing a missing grommet on a piece of equipment. The right size gives you edge protection, cleaner fitment, and fewer do-overs. The wrong size can still look close on paper and fail in practice. Shop at all of our available grommets in an easy to understand table, available to everyone, not just those who need to buy 100 or own a business.
How a rubber grommet hole size chart works
Most people start with the visible opening, but that is rarely the best first measurement. Grommets are usually sized around the mounting hole they snap into, not just the center opening. So when you read a chart, the first number to trust is typically the panel hole size.
From there, you want to check groove width and panel thickness range. The groove is the section of the grommet that grips the edge of the panel. If that groove is too narrow for the material thickness, the grommet may not seat fully. If it's too wide, the part can shift, pop out, or feel sloppy even if the hole diameter looks correct.
The inside diameter matters too, especially if you're routing wire, tubing, or a small hose. A grommet can fit the hole perfectly and still be wrong if the center opening is too tight for the item passing through it. That is why a useful chart does more than list one dimension.
The key measurements to check first
A good rubber grommet hole size chart usually revolves around four measurements. Once you know what they mean, shopping gets much easier.
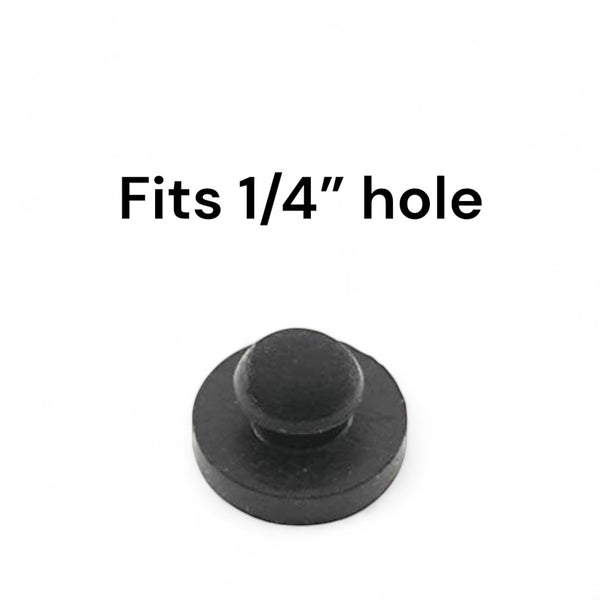
The hole size is the diameter of the panel opening the grommet installs into. This is often the primary fitment number. If you're replacing an existing part, measure the actual hole if possible, not just the old grommet. Rubber can compress, swell, or wear over time.
The groove width tells you what panel thickness the grommet is designed to grip. Thin sheet metal, plastic panels, and heavier material all call for different groove geometry. This is the measurement people skip most often, and it's one of the main reasons a grommet that "should fit" doesn't stay put.
The inside diameter is the usable opening after installation. This matters for cable bundles, fuel line protection, air lines, and any application where clearance is part of the job. If you need strain relief or a snug pass-through, you may want less clearance. If you're feeding multiple wires through, a little extra room helps.
The outside diameter gives you a sense of flange size and overall footprint. It is not always the deciding factor, but it can matter when space is tight or when you want a finished look on a visible panel.
Why charts can still be confusing
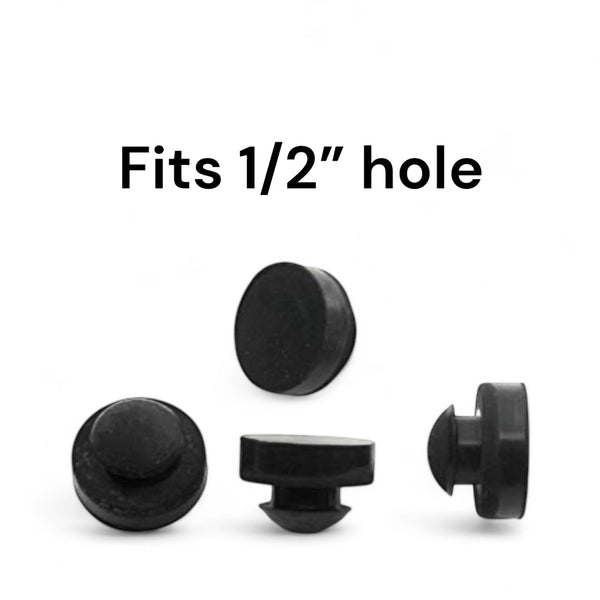
Charts help, but not all charts are built the same. Some list nominal sizes, some list actual dimensions, and some mix inch fractions with decimals. A 1/2 inch hole size may be listed as 0.500, 1/2, or a nominal category that covers a small tolerance range.
Material also changes the feel of the fit. Softer rubber can tolerate small variation better than a harder compound. That doesn't mean you can ignore the specs. It just means two grommets with similar measurements may install differently depending on rubber durometer and panel material.
There is also the issue of worn or irregular holes. In real-world repairs, holes are not always perfectly round. Painted edges, burrs, and minor deformation can affect installation. If the hole is rough, measure in more than one direction and clean the edge before choosing a size.
How to measure for the right grommet
Start with the panel hole. If the grommet is missing, use calipers to measure the diameter of the opening. If you only have a tape measure, you can get close, but calipers are better for small hardware where a few hundredths of an inch matter.
Next, measure the panel thickness. This is where groove width comes into play. Thin electrical enclosures, dash panels, brackets, and body panels can vary more than expected, especially if there is paint, coating, or layered material involved.
Then measure whatever needs to pass through the center. If it's a wire bundle, don't measure one conductor and multiply by guesswork. Measure the full bundle or sleeve as it will actually sit in use. If movement, vibration, or thermal expansion are factors, give yourself sensible clearance.
If you're replacing an existing grommet, compare all dimensions. Don't assume the old one was correct just because it was there. Plenty of repairs involve parts that were "made to work" rather than properly matched.
A simple example of chart reading
Let's say your panel hole measures 3/4 inch, the panel thickness is 1/16 inch, and you're routing a 1/2 inch wire bundle. On a typical chart, you'd first look for grommets designed for a 3/4 inch mounting hole. Then you'd narrow the options by groove width or stated panel thickness range. After that, you'd check the inside diameter to make sure the 1/2 inch bundle can pass through without being pinched.
This is where trade-offs show up. One grommet may be ideal for the panel thickness but have a tighter inside diameter. Another may offer more center clearance but fit the panel less securely. In those cases, application matters. A static wire pass-through in a light-duty panel gives you more flexibility than a vibration-heavy automotive or equipment application.
Common sizing mistakes
The most common mistake is buying by inside diameter only. That sounds logical at first, especially when you're focused on the cable or tube going through the opening. But the part installs in the panel, not in the wire bundle. If the hole size is wrong, nothing else matters.
Another mistake is ignoring panel thickness. A grommet might snap into the hole during installation and still not be correct. If the groove does not match the material thickness, it can loosen over time or sit unevenly.
A third issue is rounding too aggressively. Small hardware dimensions are not forgiving enough for broad estimates. Calling a 0.625 hole "about 1/2 inch" will send you to the wrong size range fast.
Finally, some buyers try to force one grommet to cover multiple jobs. That can work in non-critical applications, but when fitment affects wire protection, vibration resistance, or finished appearance, it pays to match the exact application instead of settling for close.
Using a rubber grommet hole size chart for different applications
Electrical work usually puts the focus on wire protection and clean routing through knockout-style openings, enclosures, and panels. In those cases, a snug panel fit and appropriate inside diameter are both important, especially when abrasion is the main concern.
Automotive and equipment repair often adds vibration, heat, and movement. Here, a correct groove fit becomes even more important because a loosely fitted grommet can walk out of place. If the wire or hose moves, center clearance and rubber durability matter too.
DIY and general shop use tends to involve mixed materials like wood, thin plastic, aluminum, and steel. That means you can't assume one chart result behaves the same in every panel. The dimensions may match, but install feel and retention can still vary depending on edge condition and material rigidity.
For buyers who are tired of vague listings and parts that almost fit, the easier path is measurement-first shopping. That's the whole idea behind how dangoodbuy approaches fitment parts - start with the hole size, panel thickness, and key dimensions, then narrow from there instead of hoping a product photo tells the story.
What to do when you're between sizes
Sometimes you're stuck between two chart options. When that happens, don't default to the larger hole size unless the panel itself truly measures there. A grommet that is underspecified for the hole will rarely hold properly.
If the panel hole is fixed but the center opening feels too small, look for a different grommet profile designed for the same hole with a larger inside diameter. If the panel thickness is the issue, prioritize the groove fit over minor cosmetic preferences. Retention and protection come first.
When your measurements are inconsistent because the hole is damaged or oversized, the best answer may be to correct the hole rather than force a standard grommet into a nonstandard opening. Charts are helpful, but they assume the panel dimensions are real and usable.
The good news is that once you understand how to read a rubber grommet hole size chart, the buying process gets much less frustrating. A few accurate measurements upfront can save you from returns, rework, and parts that sit in a drawer because they were close but not right. Measure the hole, measure the panel, measure what passes through - and let the chart do what it's supposed to do.