


If you have ever ordered a panel plug based on a photo and hoped for the best, you already know why a locking panel plugs size guide matters. These parts are small, but the fit is not forgiving. A plug that is even slightly off in hole size, groove fit, or panel thickness can pop out, sit crooked, or refuse to install at all.
The good news is that locking panel plugs are usually easy to size once you know which dimensions actually matter. The bad news is that many buyers focus on the wrong one first. Outside diameter sounds like the obvious place to start, but for most applications, hole size and panel thickness tell you much more about whether the plug will lock in place correctly.
How a locking panel plugs size guide works
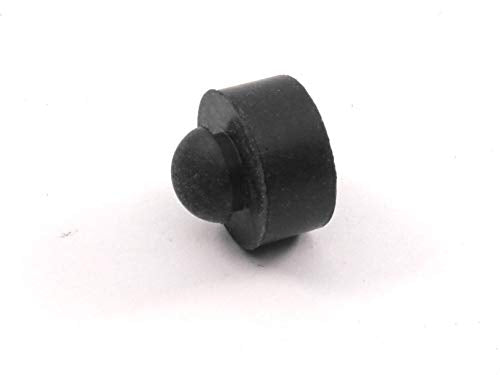
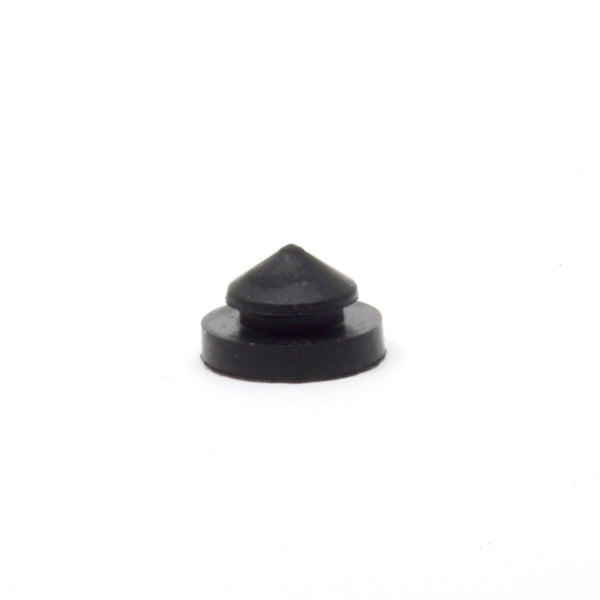
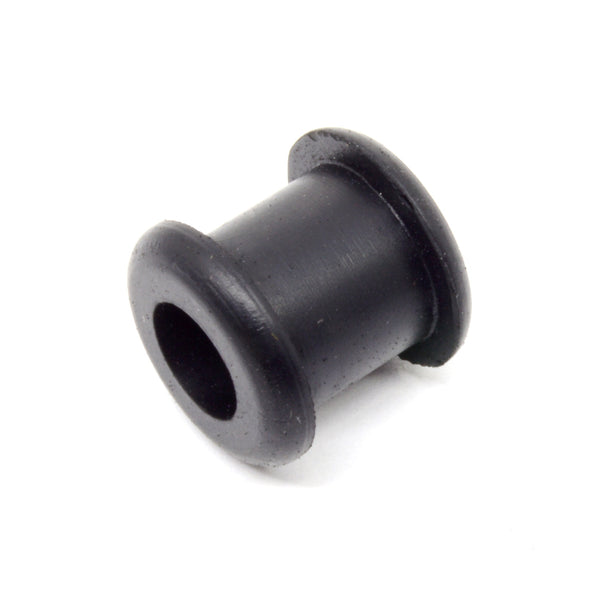
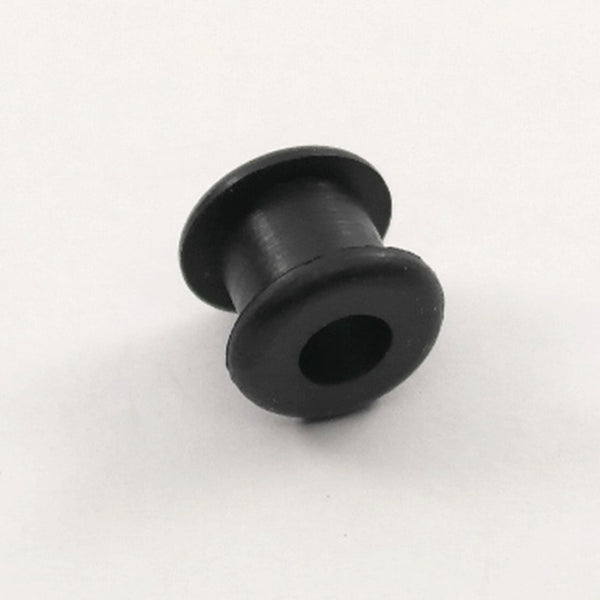
A locking panel plug is designed to snap into a panel hole and stay there using a groove or retention feature that grips the panel material. That makes it different from a simple push-in cap or a loose friction plug. It is meant to hold position, resist vibration better, and create a cleaner finished look on enclosures, sheet metal panels, automotive body openings, and electrical boxes.
When you size one, you are usually matching three things: the hole diameter, the panel thickness, and the visible head or top diameter. Some applications also care about stem length, material flexibility, or whether the plug needs to resist moisture, dirt, or occasional removal.
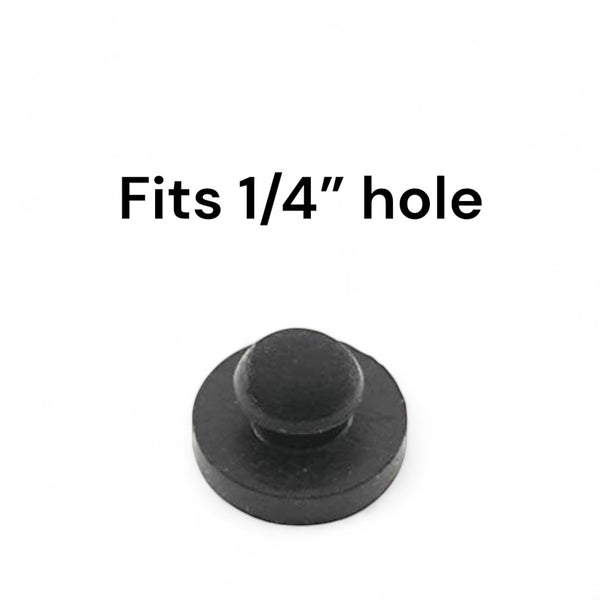
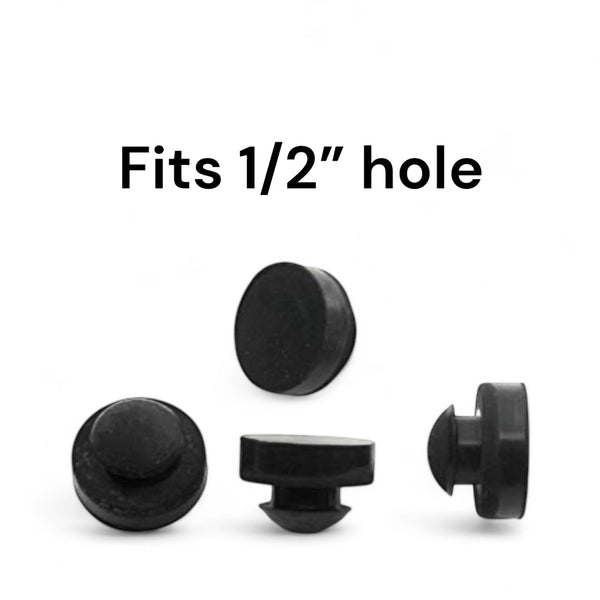
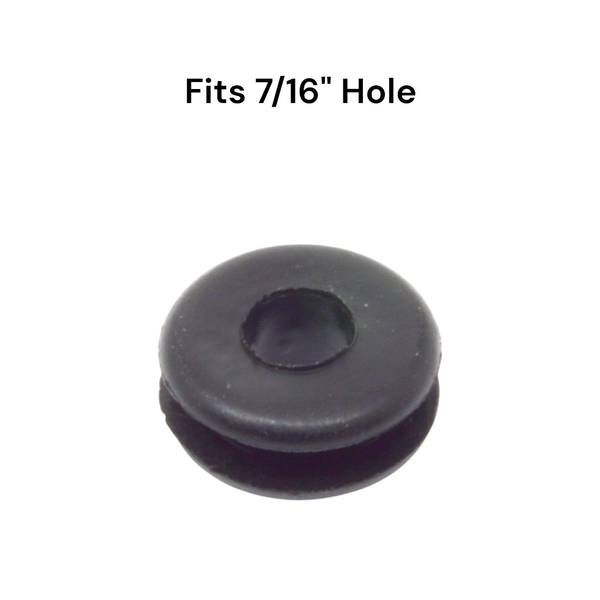
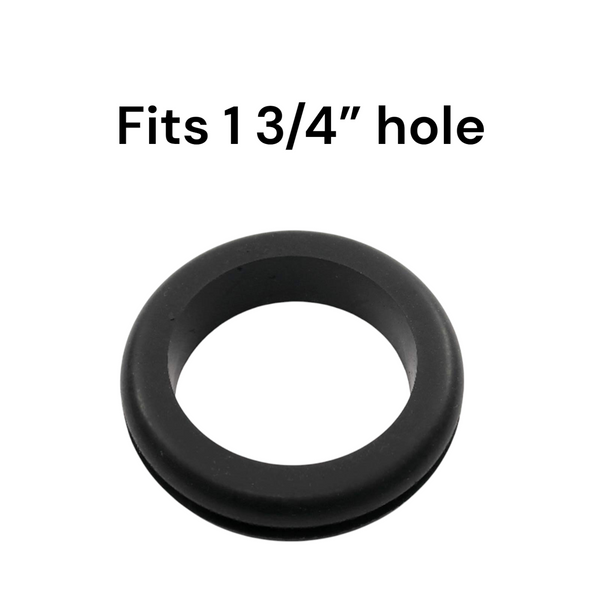
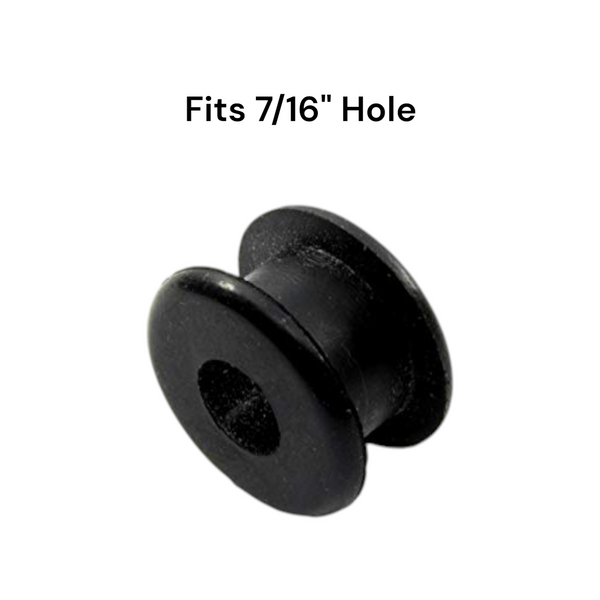
The most important dimension is almost always the mounting hole size. If the plug is made for one of our most popluar products, a 1 1/8 inch hole, that dimension needs to be close to your actual opening. Not approximately. Not based on what the hole should have been on the drawing. Measure the real opening.
After that, panel thickness becomes the deciding factor. The groove on the plug has to capture the panel. If the groove is too narrow for your material, installation gets difficult or impossible. If it is too wide, the plug may not seat firmly.
Start with the hole size, not the head diameter
This is the most common mistake. Buyers often measure the top of the plug they are replacing because that is what they can see. But the top flange is not the locking dimension. It is usually larger than the hole so the plug can cover the opening and provide a finished appearance.
For replacement sizing, remove the old plug if possible and measure the panel hole itself. A caliper is best, especially if you are dealing with fractions that are close together, but a good tape measure or drill gauge can work for larger openings. If the hole is irregular from wear, rust, paint buildup, or rough cutting, measure it in a few places and use the true functional diameter.
This matters a lot in automotive and electrical work, where a nominal hole size may differ from the actual finished opening. A hole listed on a print as 3/4 inch may not behave like a clean 0.750" opening once coatings, burrs, or field modifications enter the picture.
Panel thickness is where many fit problems happen
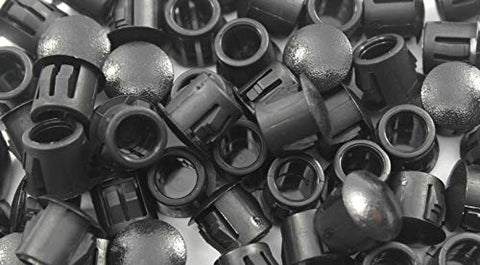
Once the hole size is known, the next question is how thick the panel is. Locking panel plugs are not one-size-fits-all when it comes to material thickness. The groove depth and retention design are built around a usable panel range.
Thin sheet metal, plastic enclosures, aluminum panels, and fiberglass body panels all behave a little differently. A flexible rubber plug might tolerate some variation, while a firmer part may have a narrower acceptable range. That is why two plugs that fit the same hole diameter may not fit the same panel equally well.
If your panel thickness falls near the top or bottom of the listed range, pay attention. A plug may still install, but retention and appearance can change. Near the thin end, it may feel looser than expected. Near the thick end, it may require more force and may not seat flush.
For buyers who need a clean, repeatable fit across multiple units, panel thickness is not a minor detail. It is one of the main selection filters. Depending on hole size, the range is either from 1/32" - 1/16", 1/32" - 1/8", or for our largest locking panel plug, 1/16" - 1/4".
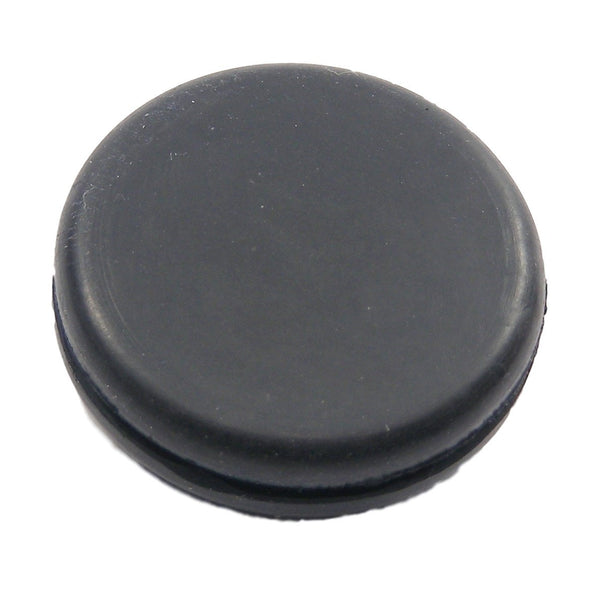
Head diameter and profile still matter
Hole size and panel thickness decide whether the plug fits. Head diameter and profile decide whether it looks right and covers what it needs to cover.
If the opening has chipped paint, rough edges, or a cosmetic ring around it from the old part, a wider head may be the better choice. If the plug sits near other components, wiring, trim, or a mating surface, head size can create clearance problems. Low-profile heads are often useful where appearance matters or where protrusion needs to stay minimal.
This is also where application-specific judgment comes in. For a utility enclosure, larger coverage may be ideal. For a visible automotive panel, a head that is too large can look out of place even if the hole fit is technically correct.
Material affects installation and performance
A size guide is not just about dimensions. Material changes how a plug behaves during installation and in service. Rubber plugs generally offer flexibility, vibration resistance, and a forgiving fit. Harder materials may hold shape better but can be less tolerant of panel variation.
Heat, oil exposure, weather, and UV can all affect long-term performance. A plug used indoors on an electrical cabinet does not face the same conditions as one installed on outdoor equipment or a vehicle body panel. If you are replacing a failed plug, ask why it failed. If it dried out, shrank, or cracked, the issue may not have been size alone.
There is always a trade-off. Softer materials can install more easily and conform well, but may wear faster in demanding environments. Firmer materials can look cleaner and resist deformation, but may need a more exact panel and hole match.
Measuring the right way for replacement parts
If you still have the old plug, it can help, but treat it as a reference, not proof of size. Used parts can stretch, flatten, shrink, or distort over time. Measuring only the old plug can send you in the wrong direction.
A better approach is to measure the panel opening, then measure the panel thickness, then compare the old plug's head size only if appearance matters. If the original fit was poor, copying it does not solve anything.
For new applications, start from the finished hole size you plan to use, not the plug you happen to have on hand. That sounds obvious, but plenty of fitment issues start with trying to make an existing part work in a hole that was not designed for it.
Common fit issues in any locking panel plugs size guide
If a plug keeps falling out, the hole may be too large, the panel may be too thin for the groove, or the material may have lost elasticity. If it will not snap in, the hole may be undersized, the panel may be too thick, or the panel edge may have burrs that interfere with seating.
If it looks loose even though it installed, check whether the head is simply smaller than you expected. That is a cosmetic issue in some cases, but in others it can point to a part that is not intended to cover the opening fully.
If one size seems close but not quite right, do not assume force will fix it. With locking parts, almost-fit often turns into damaged plugs, scratched panels, or unreliable retention.
Choosing sizes online without guesswork
This is where measurement-based shopping helps. Instead of browsing vague product names, look for listings organized by hole size, groove or panel range, and head diameter. That makes it much easier to narrow the field quickly, especially if you only need a few pieces and do not want to buy industrial quantities just to test fit.
At dangoodbuy, that fit-first approach is the whole point. Buyers usually know the job they are trying to finish. What slows them down is translating that need into the exact dimensions a part requires. Clear measurement-driven product naming removes a lot of that friction.
If you are between sizes, the safest move is to verify the hole and panel measurements again before ordering. Most mistakes happen in measurement, not in the plug. A second check takes less time than dealing with returns or stalled work.
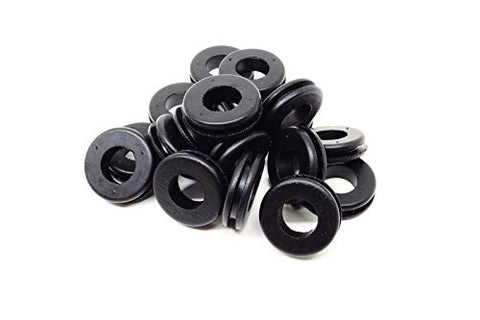
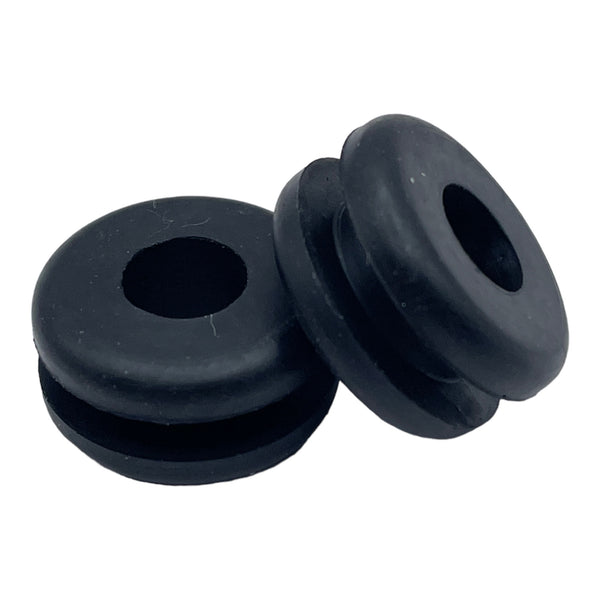
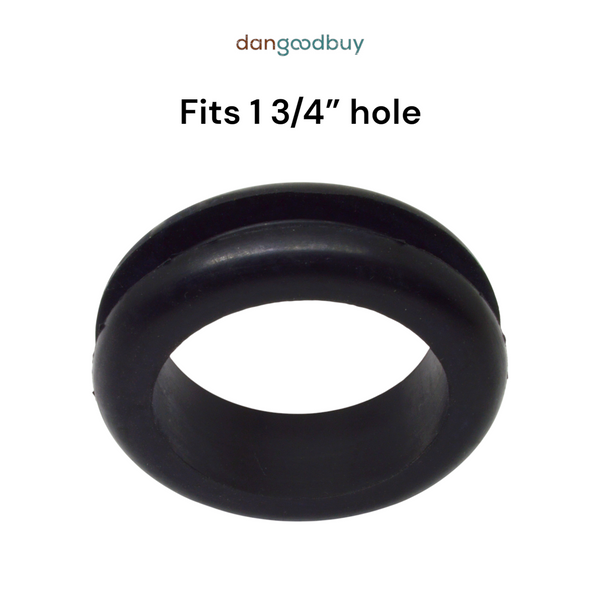
When to choose a different part type
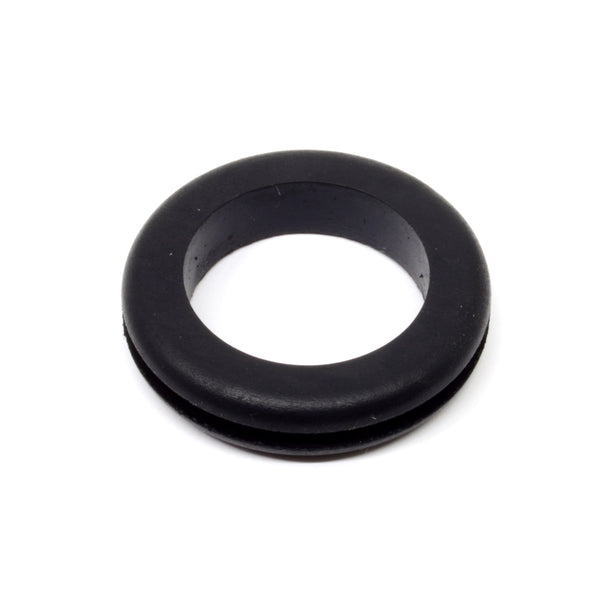
Sometimes the best answer is not a locking panel plug at all. If you need wire pass-through, strain relief, or edge protection, a grommet may be the better part. If the opening needs a removable closure with repeated access, a standard plug or cap may be more practical. If panel thickness varies widely, an expandable style may give you more flexibility. And if you need a finished look on both sides of your panel and have a thickness of 1/16", a rubber plug may be your best option.
That is why size guides work best when paired with a clear understanding of the job. Closing a hole is one thing. Locking into a specific panel, surviving vibration, and looking clean after installation is another.
A good fit starts with real measurements, not guesses. Once you know the hole size, panel thickness, and the kind of coverage you want on top, choosing the right locking panel plug gets much simpler.