

A rubber foot that is only slightly too small can let a tool cabinet slide, leave an enclosure sitting crooked, or pull loose after a few weeks of vibration. This rubber feet buying guide focuses on the details that prevent those problems: the load, mounting method, surface, dimensions, and material. Getting those details right is usually faster and cheaper than replacing a damaged floor, scratched workbench, or unstable piece of equipment.
Rubber Feet Buying Guide: Start With the Job
Rubber feet do more than keep an object from touching the floor. Depending on the application, they can add traction, reduce vibration and noise, protect a finished surface, create clearance for airflow, or keep a device from shifting during use. The right choice depends on which of those jobs matters most.
For a lightweight picture frame, speaker, or small electronics case, a self-adhesive bumper may be all that is needed. For a shop tool, generator, equipment enclosure, or rack-mounted component, a screw-mounted or push-in foot is usually the safer choice. Furniture feet may need a wider base to spread weight across wood, tile, laminate, or concrete without leaving marks.
Think about where the item will live as well. A rubber foot that works well indoors may not hold up to road grime, oils, sunlight, moisture, or high heat. There is no single best rubber foot. There is a best fit for the job in front of you.
Choose the Right Mounting Style
The mounting style determines how the foot attaches and how easily it can be replaced later. It also affects the measurements you need before ordering.
Self-adhesive bumpers
Adhesive-backed rubber feet are quick to install and work well for light-duty applications. They are common on electronics, cabinet doors, cutting boards, display items, and small appliances. They require a clean, dry, smooth surface. Dust, oil, textured plastic, and unfinished wood can weaken the bond.
Adhesive feet are convenient, but they are not the best answer for heavy loads or constant vibration. If a foot is expected to carry substantial weight, get wet, or experience frequent side-to-side force, choose a mechanically attached style instead.
Screw-mounted feet
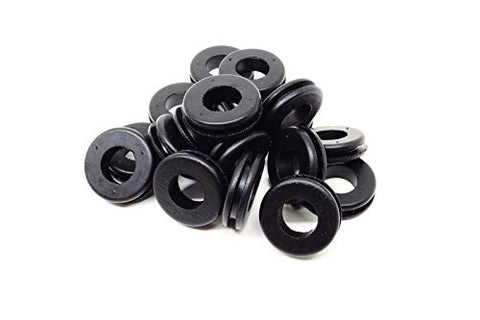
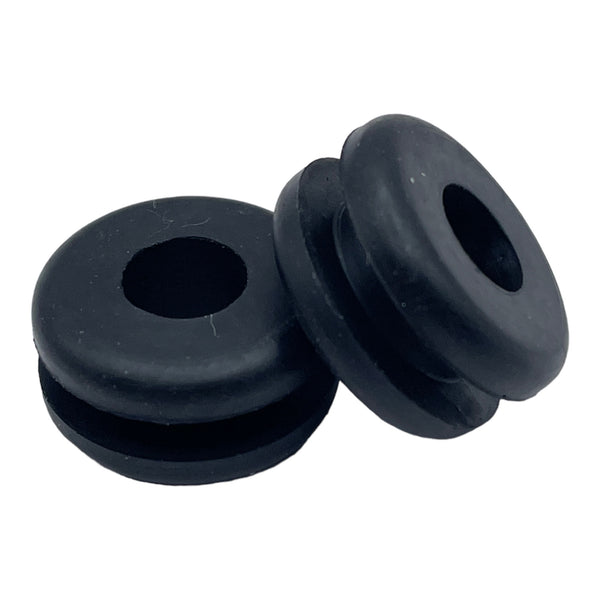
Screw-mounted rubber feet are a practical option for machinery, furniture, equipment cases, and workbenches. The rubber body may have a recessed hole for a screw head, or it may be attached to a metal washer or threaded stud. This style stays put better than adhesive under repeated movement.
Measure the screw diameter, head style, and available mounting depth. A screw head that sits proud of the rubber can scratch the same surface the foot is meant to protect. A recessed mounting hole helps keep the hardware out of contact with the floor or bench.
Push-in and stem-mounted feet
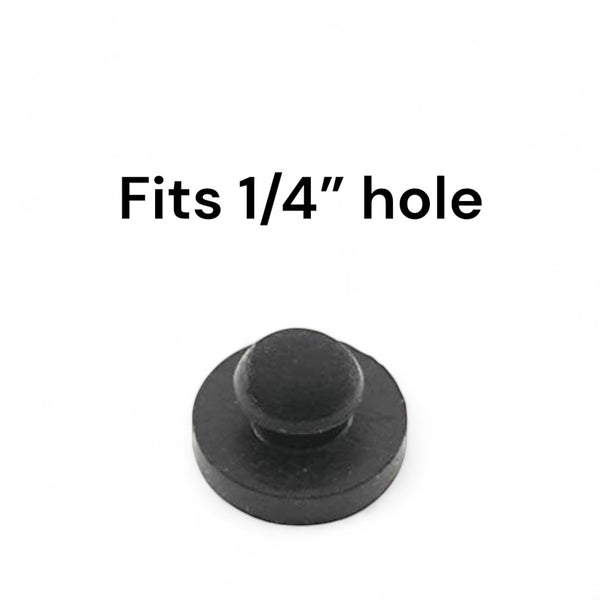
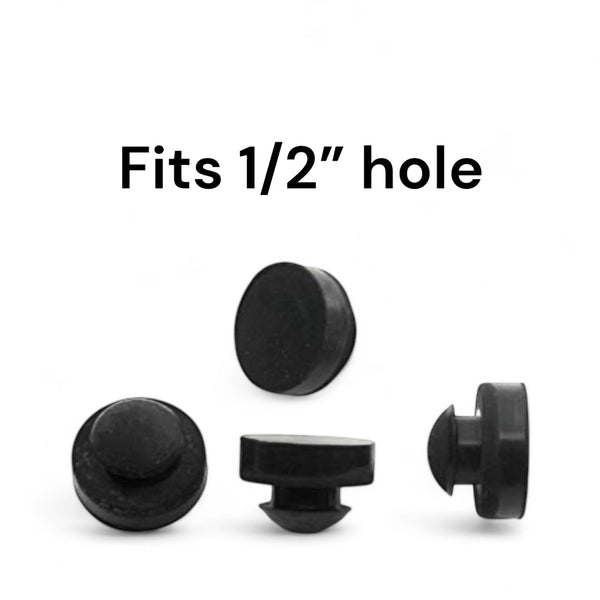
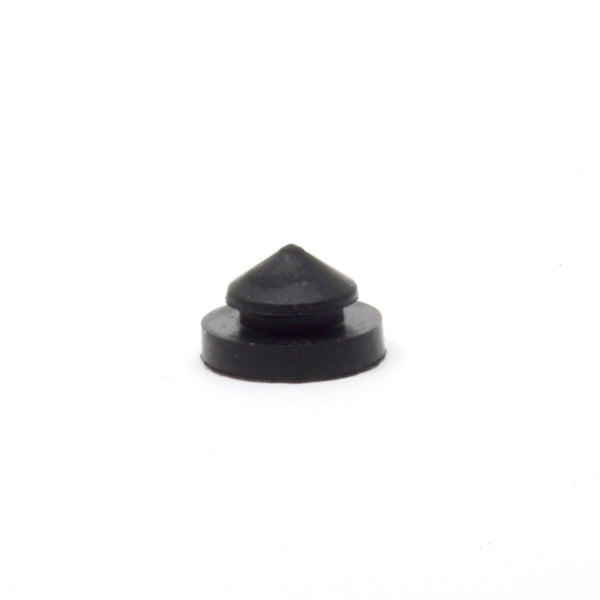
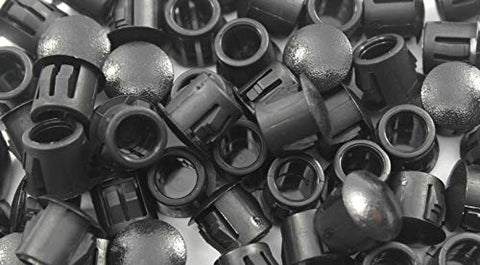
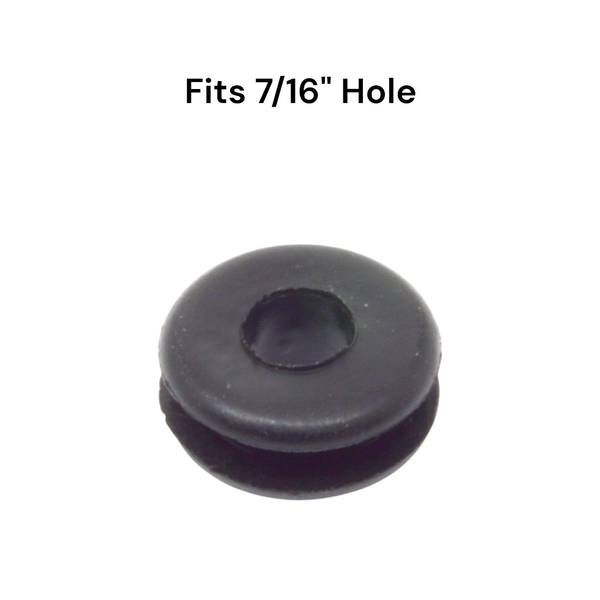
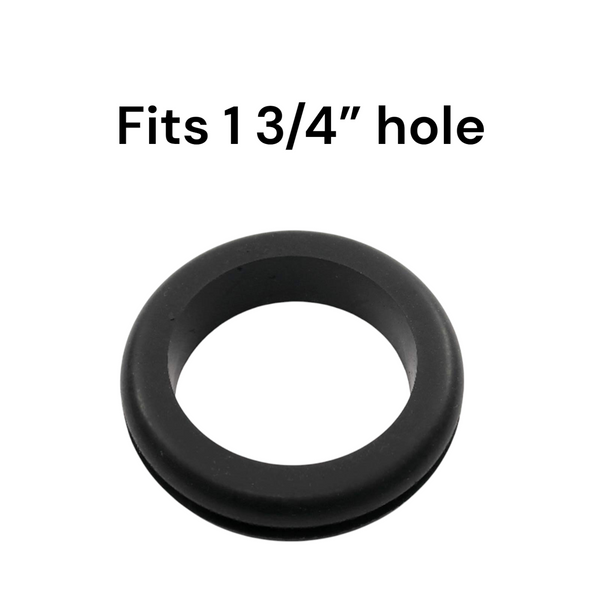
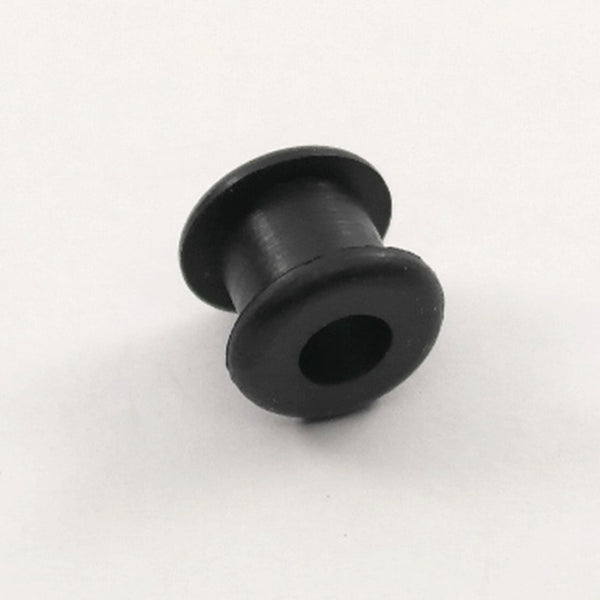
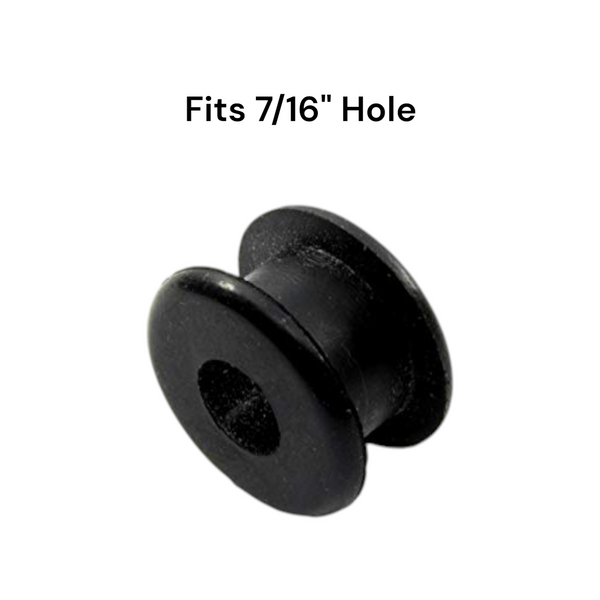
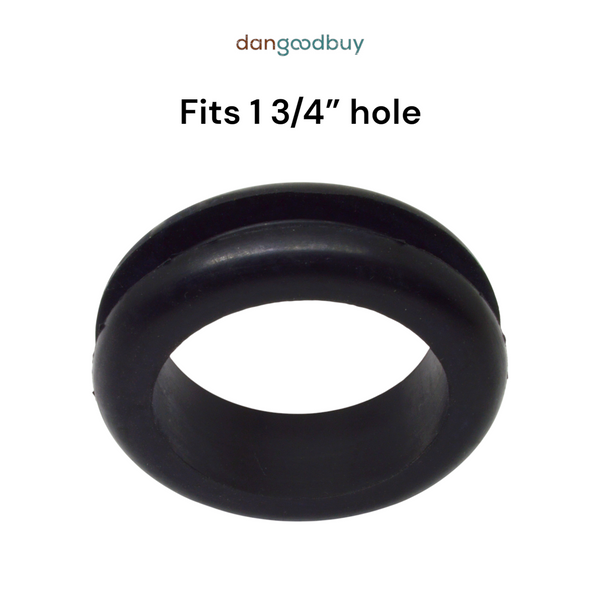
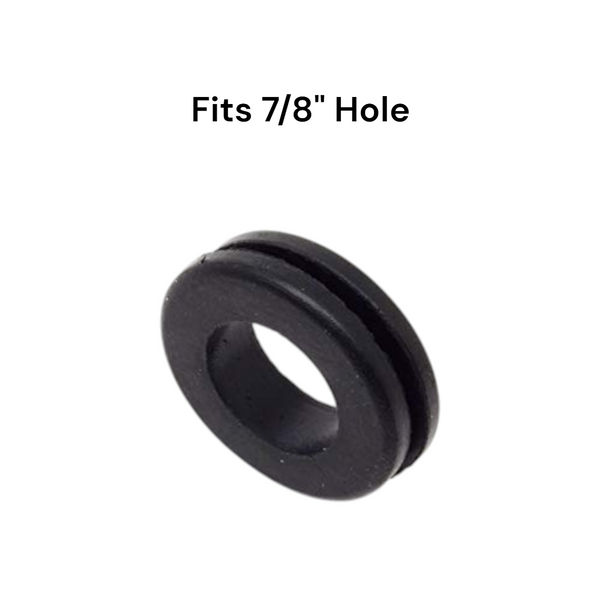
Push-in feet use a stem that presses into a predrilled hole. They are often used on metal tubing, wire racks, furniture legs, appliance frames, and light enclosures. The critical measurement is the hole diameter, not just the outside diameter of the visible foot.
Measure the hole with calipers when possible. A stem that is too small can fall out; one that is too large may distort, split, or refuse to seat. Also check the material thickness around the hole, especially on thin sheet metal or plastic.
Threaded feet and leveling feet
Threaded rubber feet are useful when the equipment needs both grip and adjustment. They can correct for an uneven floor and provide a more secure mounting point on frames or cabinets. Check the thread size, pitch, stud length, and the amount of adjustment you need below the equipment.
A leveling foot is not always the best vibration isolator. If vibration control is the main goal, look for a softer rubber pad or a foot specifically designed to isolate movement rather than simply support weight.
Measure Before You Buy
Most wrong rubber-foot orders come down to skipped measurements. Product photos can make two parts look identical even when their base diameter, height, or mounting hole is very different.
For any replacement foot, start by measuring the old part if it is available. Record the base diameter or width, overall height, top diameter, mounting-hole diameter, and stem dimensions. For a tapered or angled foot, measure both the top and bottom. If the item fits into a recess, measure the recess depth and opening as well.
For new installations, measure the mounting location and the clearance the foot needs to create. A taller foot can improve airflow beneath electronics or equipment, but it can also make a cabinet less stable. A very wide foot improves load distribution, though it may look oversized on smaller items.
When a measurement falls between sizes, the correct choice depends on the mounting style. For a push-in stem, an exact fit is usually necessary. For an adhesive pad, a slightly larger base can be useful if it stays within the flat mounting area. For a screw-mounted foot, confirm that the mounting hole and screw recess work together before relying on outside dimensions alone.
Match Size and Shape to the Load
The base size has a direct effect on stability and floor protection. A narrow foot concentrates force in one small area. That is fine for a light electronic device, but it can dent soft flooring or sink into carpet padding under a heavy cabinet. A larger base spreads the load and generally provides more grip.
Divide the approximate weight of the item by the number of feet, then leave room for uneven loading. A four-foot cabinet rarely puts exactly one-quarter of its weight on each foot, especially on an uneven floor. Choosing a foot with extra capacity is sensible, but an excessively soft or tall foot can allow the item to wobble.
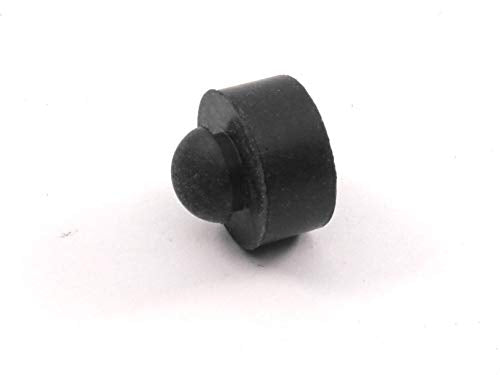
Shape matters too. Flat-bottom cylindrical feet are versatile. Dome-shaped bumpers work well for light contact points and cabinet-door stops. Recessed or conical feet can center a part over a mounting hole. Ribbed or textured bottoms can improve traction, while smooth bottoms may be better where easy cleaning matters.
Understand Rubber Material and Hardness
Many listings simply say “rubber,” but the material affects performance. Natural-rubber blends often provide good grip and cushioning for general indoor use. Neoprene handles weather and moderate oil exposure better than many basic rubber compounds. EPDM is a strong choice for outdoor exposure, water, and ozone. Nitrile is commonly selected where oils and fuels are a concern.
If your foot will contact solvents, petroleum products, brake fluid, or harsh cleaners, verify chemical compatibility rather than guessing. A foot that looks fine at installation can swell, soften, crack, or transfer color after exposure to the wrong substance.
Hardness is often expressed as Shore A. Lower numbers are softer and better at cushioning and damping vibration, but they can compress more under load. Higher numbers are firmer, resist deformation, and support weight better, but they may transmit more vibration. For a light appliance that walks across a counter, grip may matter more than maximum firmness. For a heavy shop cabinet, a firmer, wider foot may be the better balance.
Consider the Surface Underneath
A rubber foot should protect both the object and the surface it sits on. Concrete, painted steel, tile, hardwood, laminate, carpet, and vehicle flooring each create different demands.
On smooth tile or sealed concrete, traction is usually the priority. On hardwood or vinyl, make sure the material is non-marking, especially if the item will stay in one location for years. Some dark rubber compounds can leave marks or react with certain finishes. For outdoor equipment, choose a material that tolerates UV exposure and standing water rather than relying on an indoor bumper.
If vibration is the problem, also consider whether the equipment is bolted down, mobile, or frequently moved. A soft foot may reduce transmitted noise, but it will not cure a machine that is out of balance or mounted on a weak frame.
Buy the Quantity You Actually Need
Small replacement jobs do not always need a contractor-size box. Buying a few extra feet is smart for future repairs, but there is little value in storing hundreds of parts that are unlikely to match another project. On the other hand, maintenance teams, fabricators, and repeat builders benefit from keeping a consistent size on hand.
When comparing packs, look beyond the per-piece price. Confirm the dimensions, material, mounting style, and whether hardware is included. A lower-cost foot that does not fit is not a bargain. For larger runs, ordering the same part in bulk helps keep finished products level and consistent from one unit to the next.
A good rubber foot should disappear into the job: the equipment stays steady, the surface stays protected, and you do not have to think about it again. Measure first, match the foot to the environment, and keep a few spares nearby. That is the kind of small hardware decision that saves real time when the next repair lands on your bench.